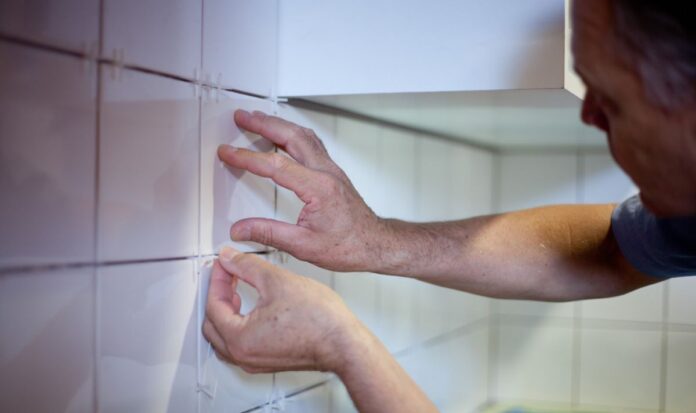
To begin with, Britons will need to make sure they have the correct tools, according to Sam Williams, DIY expert at SGS Engineering . This includes a bucket, a mixing paddle and drill, a tape measure, a permanent market, a notched trowel, a grout float and a sponge. DIYers will also need to invest in a tile cutter, a file, a roller and tray, a tile saw as well as a silicone gun. The expert explained: ‘It’s a good idea to wait until the last minute to buy the tiles so that you can easily return any leftover boxes. That may feel tricky for the ultra-organised who are reading this, but the last thing you want is boxes full of unused tiles that you can’t shift. ‘Use an online tile calculator to work out roughly how many you need to buy, and add approximately 10 percent to your order to be safe. You ideally want to have enough tiles the first time around, as tiles from different manufacturing batches can look slightly different in terms of colour etc. Trust me, it’ll drive you mad if you notice a few tiles that look different. DIY expert shares ‘simple’ guide on tiling kitchen walls to achieve ‘polished’ new look (Image: Getty) ‘Prior to starting the tiling process, it’s important to protect your worktops, units and appliances by covering them with some dust sheets. If you don’t have any, just use old curtains, duvet covers, or any other large fabrics you own that you don’t mind getting a bit mucky. ‘Before tiling can begin, prepare the walls by removing any dust, wallpaper, and address any holes or uneven areas – sanding the walls down is probably a good idea. It is important to work on a flat surface, so you may need to patch plaster if you have any larger holes in the wall.’ Next, mark the centre of each wall using a tape measure and a pencil. After this has been done, mark where you’d like each horizontal row of tiles to show, making sure to leave a gap between each row. DIYers should be able to see whether they’ll need to cut a row of tiles in each corner, depending on how the rows are measured. Sam added: ‘Once you know where your tiles are going to go, you can start applying the adhesive using your notched trowel. ‘I’d recommend applying it to a small area at a time until you feel confident that you’re applying the right amount of adhesive – you can start applying it to a larger area at a time once you’re feeling more comfortable. I’d only mix enough for around one ft of tiles at any time as this way you can work before it dries off. Looking for a new home, or just fancy a look? Add your postcode below or visit InYourArea ‘When applying each tile, place a spacer in between each tile to keep things nice and neat. When placing the tiles onto the wall I recommend giving them a slight wiggle so that the tile adhesive spreads underneath the tile. ‘One last thing to note. If your worktops are level, then you can tile directly from the worktop. But if they are not, my method is to start tiling one tile above the worktop. By doing so, you can create the illusion of a level surface. In this case, you would cut the first row of tiles at the end to achieve the desired appearance of a level line.’ When it comes to cutting the tiles to make sure electrical points can be used the expert said DIYers can either use a manual or electric cutter. If using a manual one, score along the designated L-shaped line to create a perfect cutting line, using a tile saw to cut the shorter line before snapping the longer line using the tile cutter. Make sure to turn off the electrical sockets before working around them, or ask for a professional if you need help. The DIY expert continued: ‘Next, unscrew the faceplate from the back box, ensuring that no electrical connections are exposed. To accurately mark the tiles for necessary cuts, use a marker pen or a pencil. Then you can cut the tile and place it around the socket. Five jobs to never DIY (Image: EXPRESS) ‘You’re probably desperate to get the job done by this point, but it is crucial to allow a sufficient drying time of 24 hours for the adhesive to fully set before proceeding with grouting. This waiting period ensures that the tiles are securely bonded to the surface, promoting a durable and long–lasting installation. ‘To begin the grouting process, use a grout float to push the grout into the gaps between the tiles. Employ a pumping action while applying the grout to ensure that the gaps are filled. This technique helps achieve a solid and consistent grout line. Once the grout is applied, use a damp sponge to carefully wash off any excess grout from the tile surface, being mindful not to remove grout from the gaps. ‘Patience and attention to detail are your friends during the grouting stage, as the more accurate you can be, the better your kitchen will look.’ To provide a ‘polished look’, consider using metal or plastic edging and a silicone sealant between the tiles and worktop to ensure easy cleaning.


